
Today I finished up my weekend project. Slip covering a chair in my son's room. Last week I shared a few before pics. I will share some "during" pics of some of the things I fixed to make the chair even better.
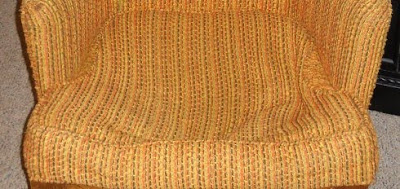
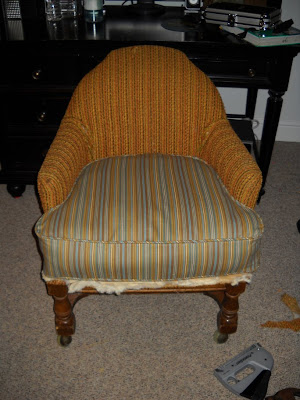
If you have read my previous post, you will see this pic of what the cushion looked like in the chair. It is sinking in because the strips that hold up the seat are broken.
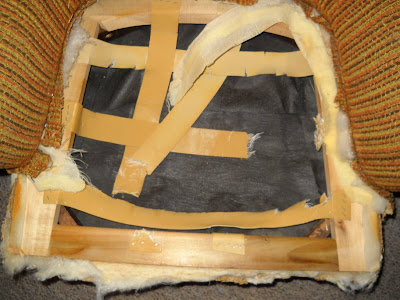
I removed the sewn-in cushion and this is what I found. It just needs new stripping put down before adding the new cushion.

This is what the cushion looked like by the time I removed it.
Kind of a mess and if I had just made a new slip cover for the seat cushion it would have been very lumpy and not looked good.
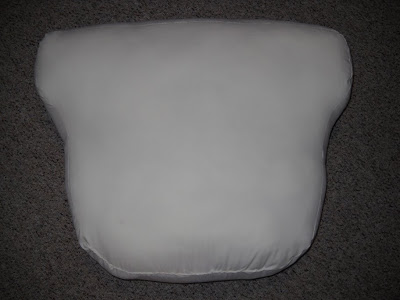
So I made a casing for the foam piece and also added more stuffing to make a fuller, more comfy seat for the chair.
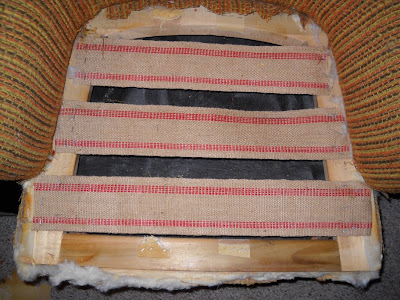
I replaced the strips with new jute material strips.

I made the seat cushion slip cover first. It looks so much better already!

Then I made the slip cover for the chair. I would share step by step, but I don't really have a method to my madness. But I do prefer the process of laying out the pieces wrong-side-up and pinning everything and cutting to get the best fitting slip cover.
And if I could give two words of advice for making slip covers.
Pin everything! I hate pinning things and I get in a hurry sometimes and don't want to, but it is really worth it to take my time and pin everything.
Be Inspired!
Karol

 Just as I shared in my last post (shamefully from last fall), I was admiring the beautiful spring wildflowers that grow on the side of the road I drive everyday. Purples, yellows, whites dotting the edge of the road.


